TINKATAG INSTRUCTIONS
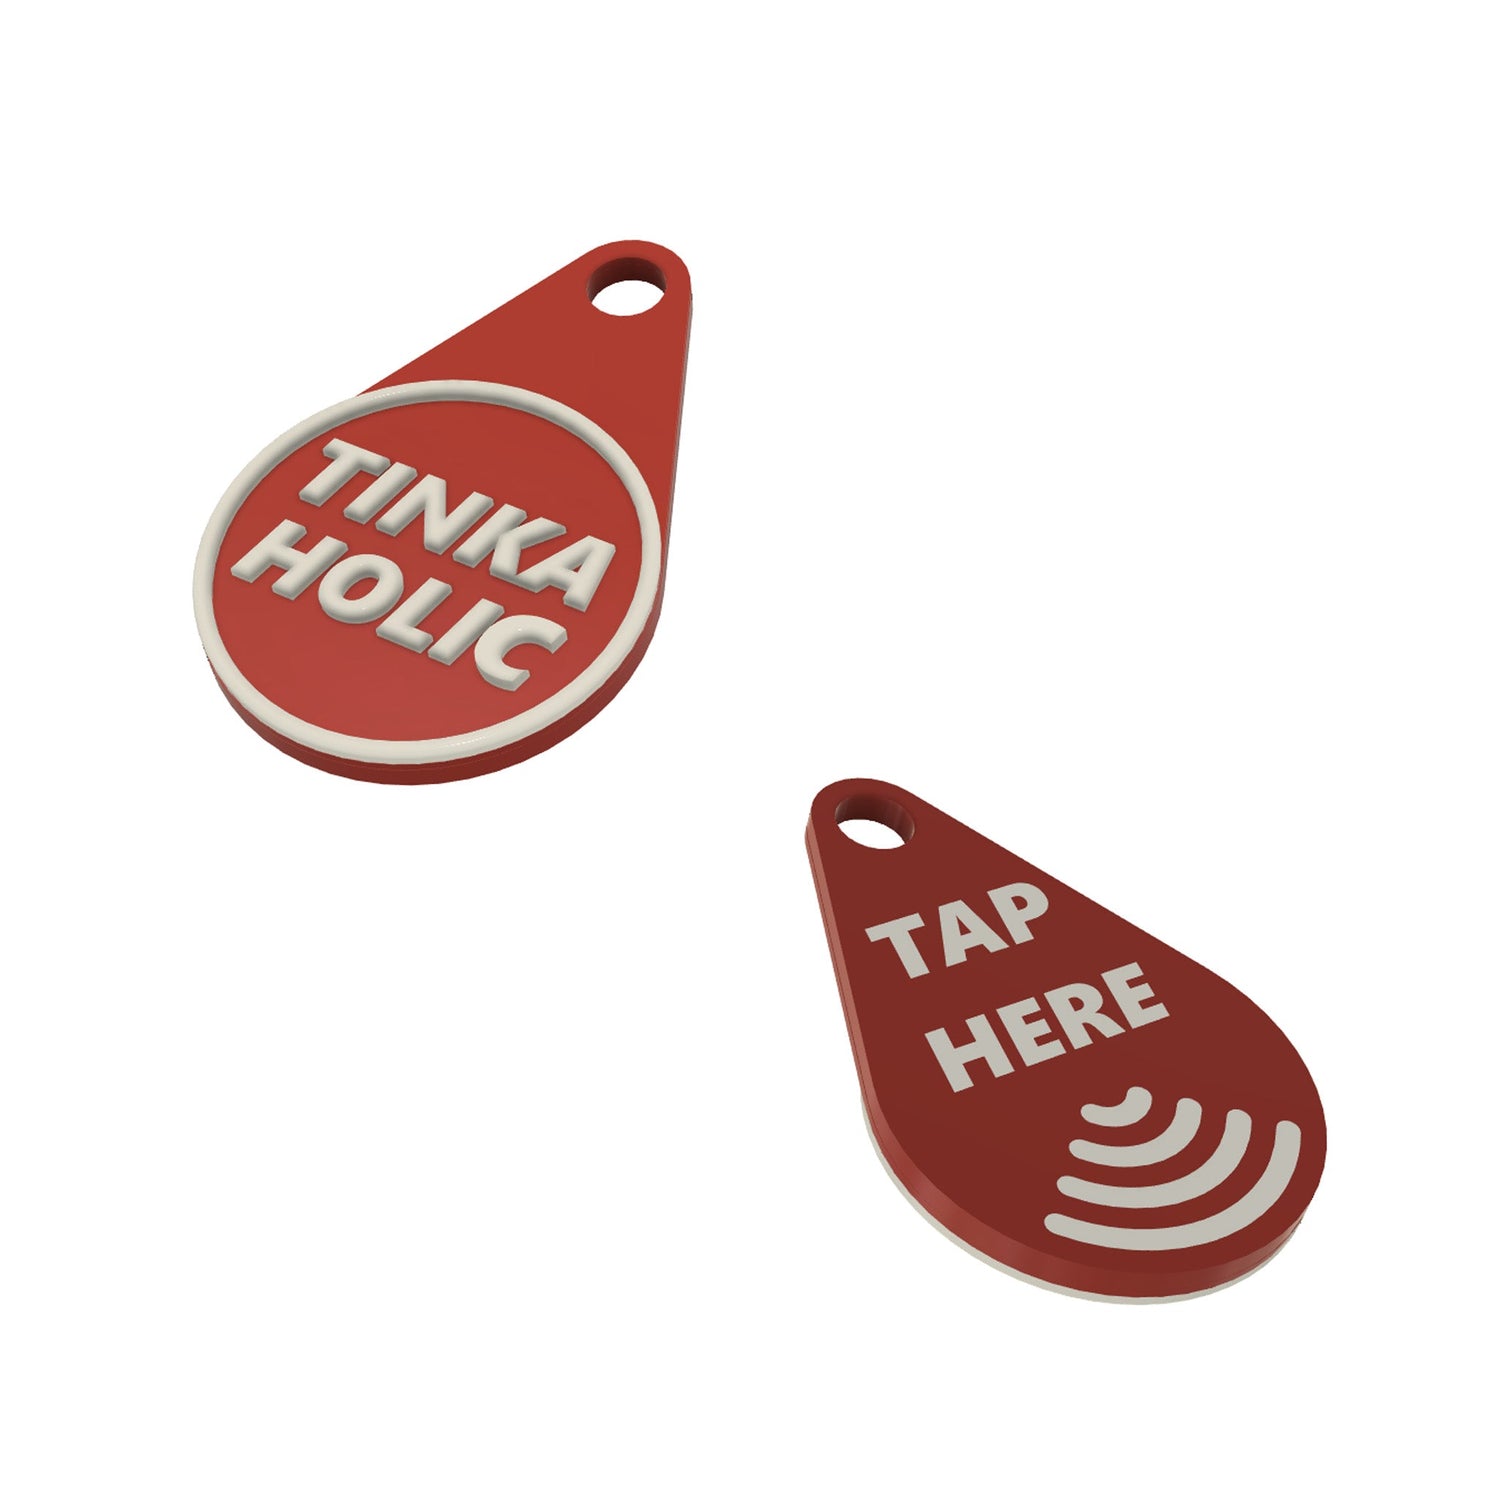
The Tinkatag is programmed using a free app called 'NFC Tools'. Your Tinkatag comes preinstalled with links to NFC Tools for Apple, Android and Google phones.
Tap your phone on your Tinkatag to open the Tinkatag menu, then select the NFC Tools link for your phone. Download and open the app, you will see 'Read' and 'Write' menus.
Select the 'Write' menu, then select 'add a record' to chose your desired Tinkatag function eg a URL, contact details, app link, social network etc. Enter the requested information and click ok.
Select 'Write' and hold your Tinkatag near your phone to write the information on to it. Exit NFC Tools and test your Tinkatag by tapping it from the home screen.
The preinstalled Tinkatag menu was created with 'Unit Link', you can create your very own menu by signing up to Unit Link and following the instructions above to write the Unit Link menu function to your Tinkatag.
Warning - Writing a new function to your Tinkatag will erase the preinstalled Tinkaholic Unit Link menu.
BRAKE SERVICE INSTRUCTIONS
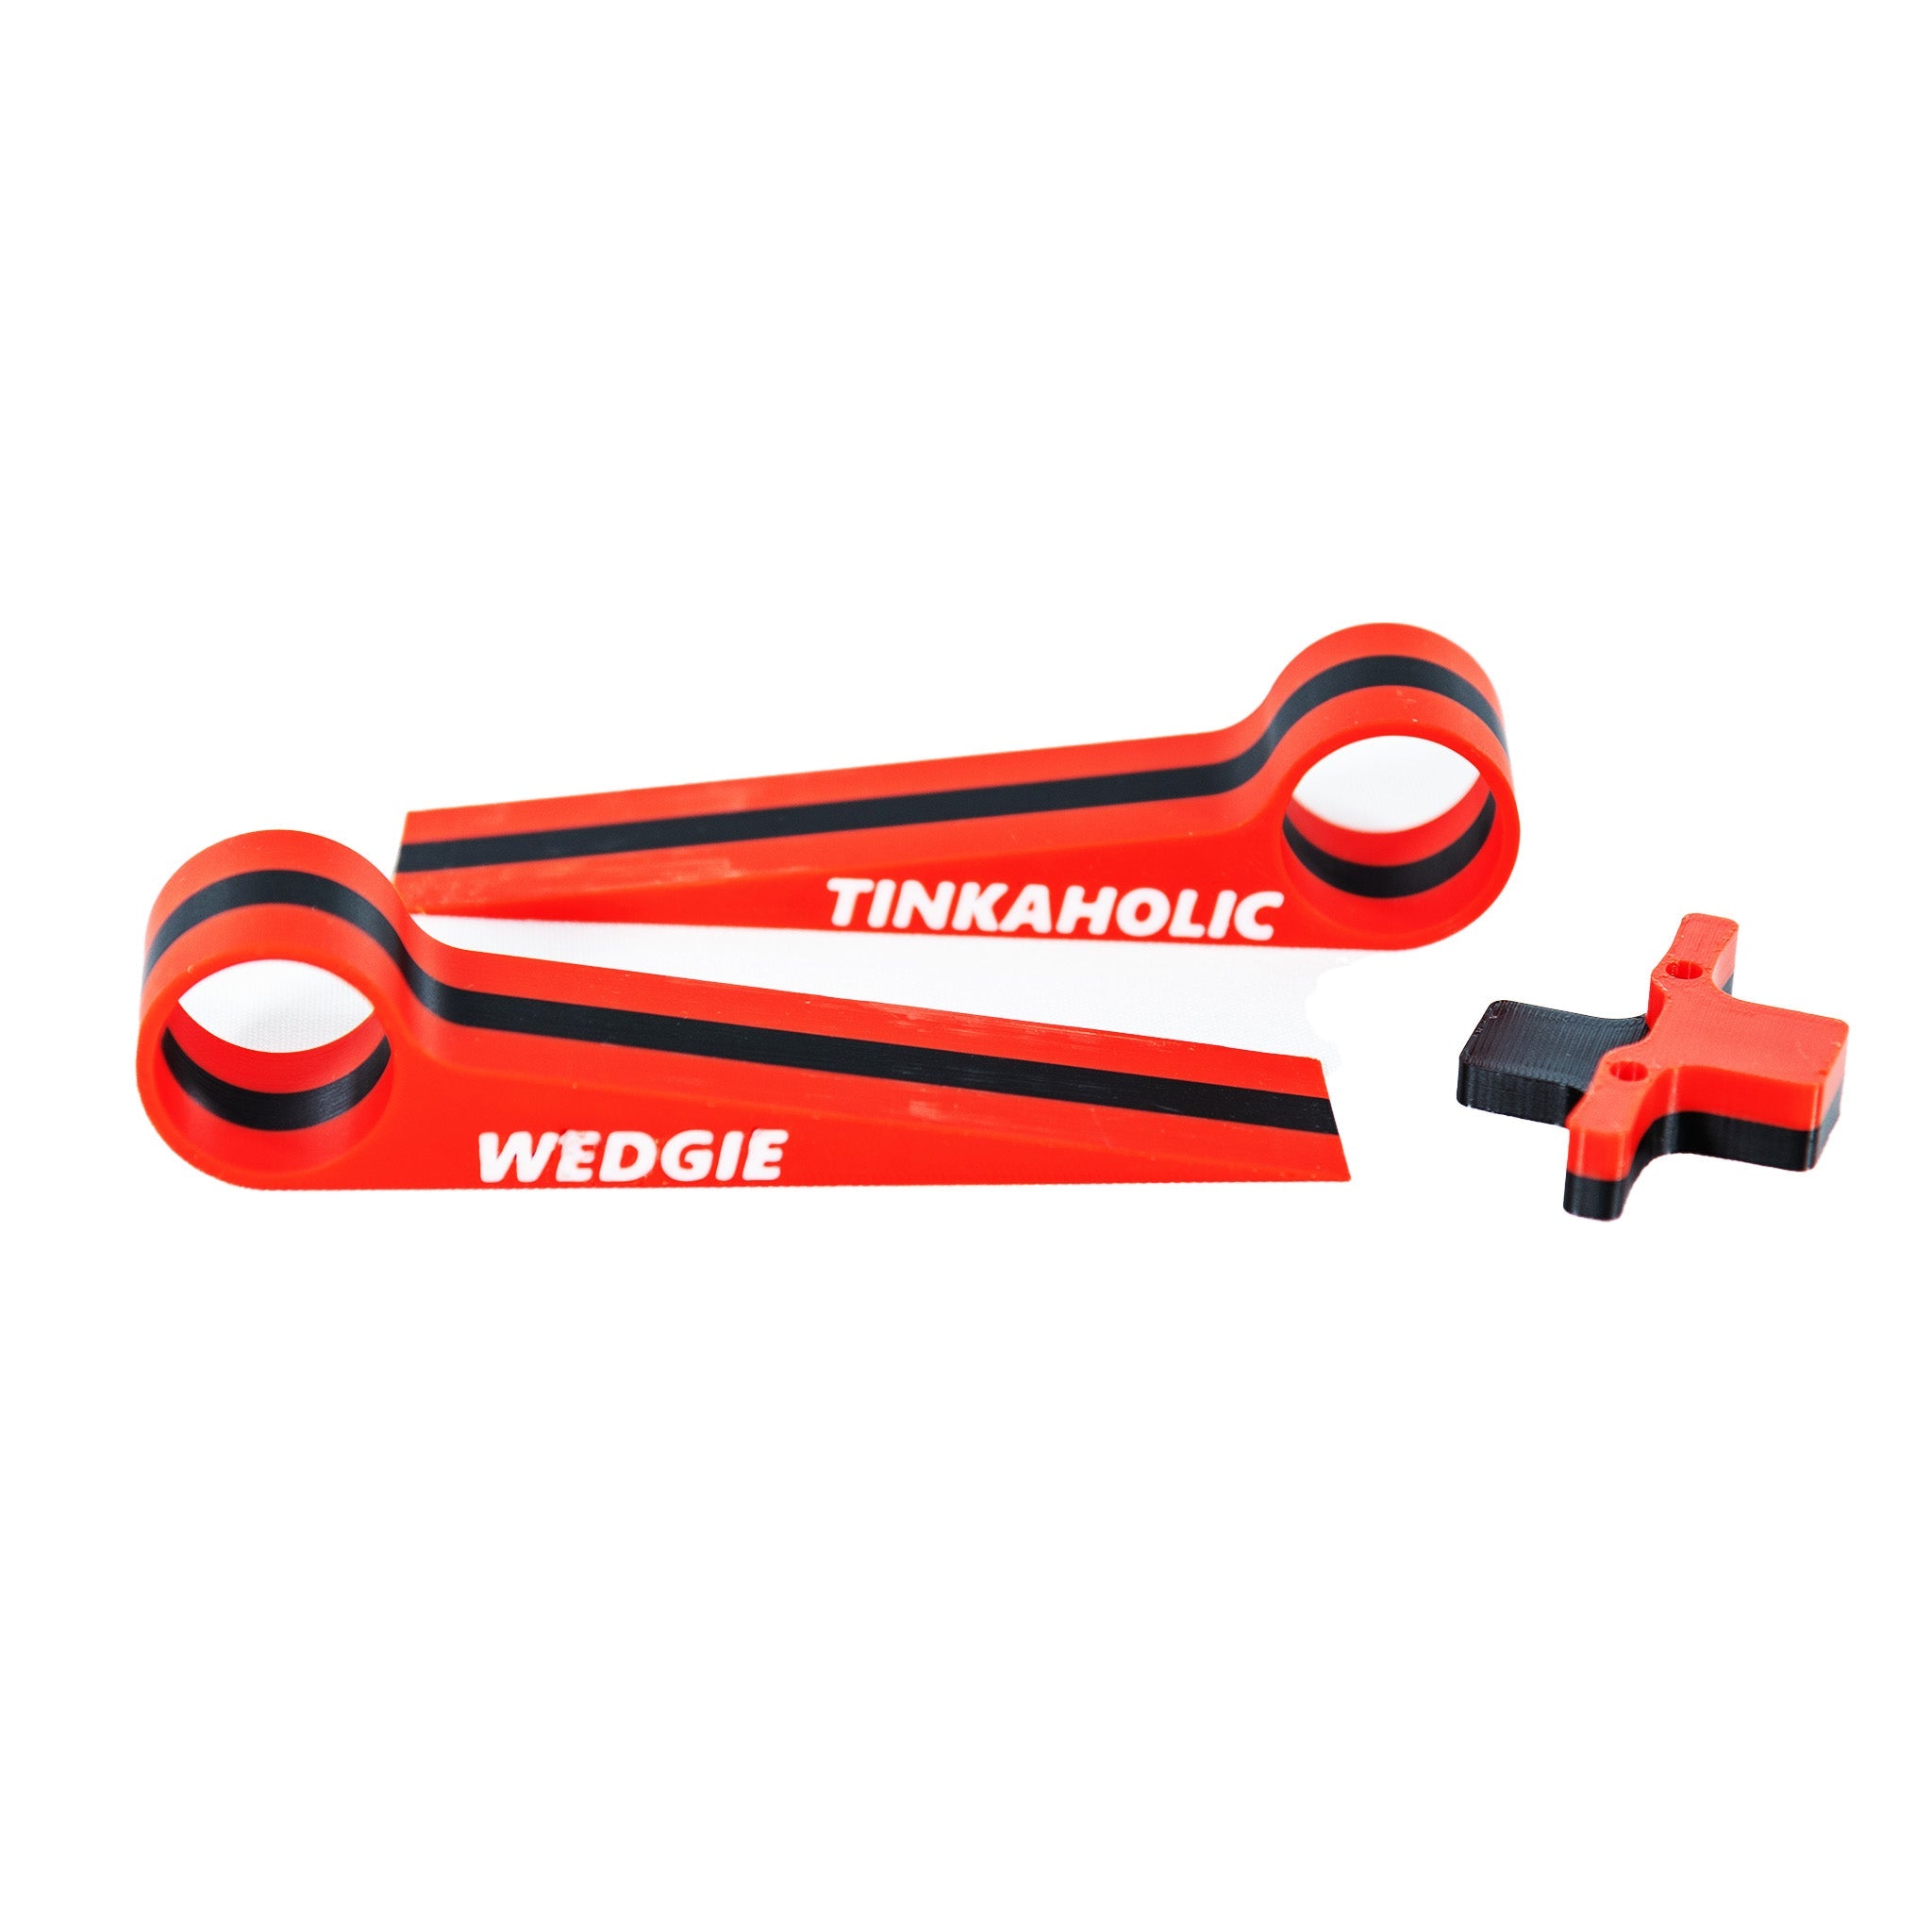
How to service your brakes using the Wedgie and Brake Cleaner
- Remove your brake pads per the manufacturers instructions
- Slightly loosen the brake calliper bolts from the frame or fork so the calliper can move freely
- Insert the Wedgies from either side of the brake calliper so they face each other
- Firmly push the Wedgies together, observe the brake cylinders moving in to the calliper
- Once the brake cylinders are fully retracted insert the Brake Cylinder Cleaner in to the calliper and insert the disk pad locking pin to hold it in place
- Squeeze the brake lever to extract a single cylinder, you may need a few squeezes
- Remove the Brake Cylinder Cleaner
- Dip a cotton bud in your brake fluid and clean the outside of the cylinder
- Please ensure the brake fluid you use matches the fluid in your brakes
- Use the Wedgies to retract the brake cylinder per the instructions above
- Re-insert the Brake cylinder cleaner either upside down or rotated 180 degrees to extract the next cylinder
- Repeat this process until all four cylinders are clean
- Re-install your brake pads per the manufacturers instructions
- Align your brakes and re-tighten the brake calliper bolts per the manufacturer torque settings
SAGGY BITS INSTRUCTIONS
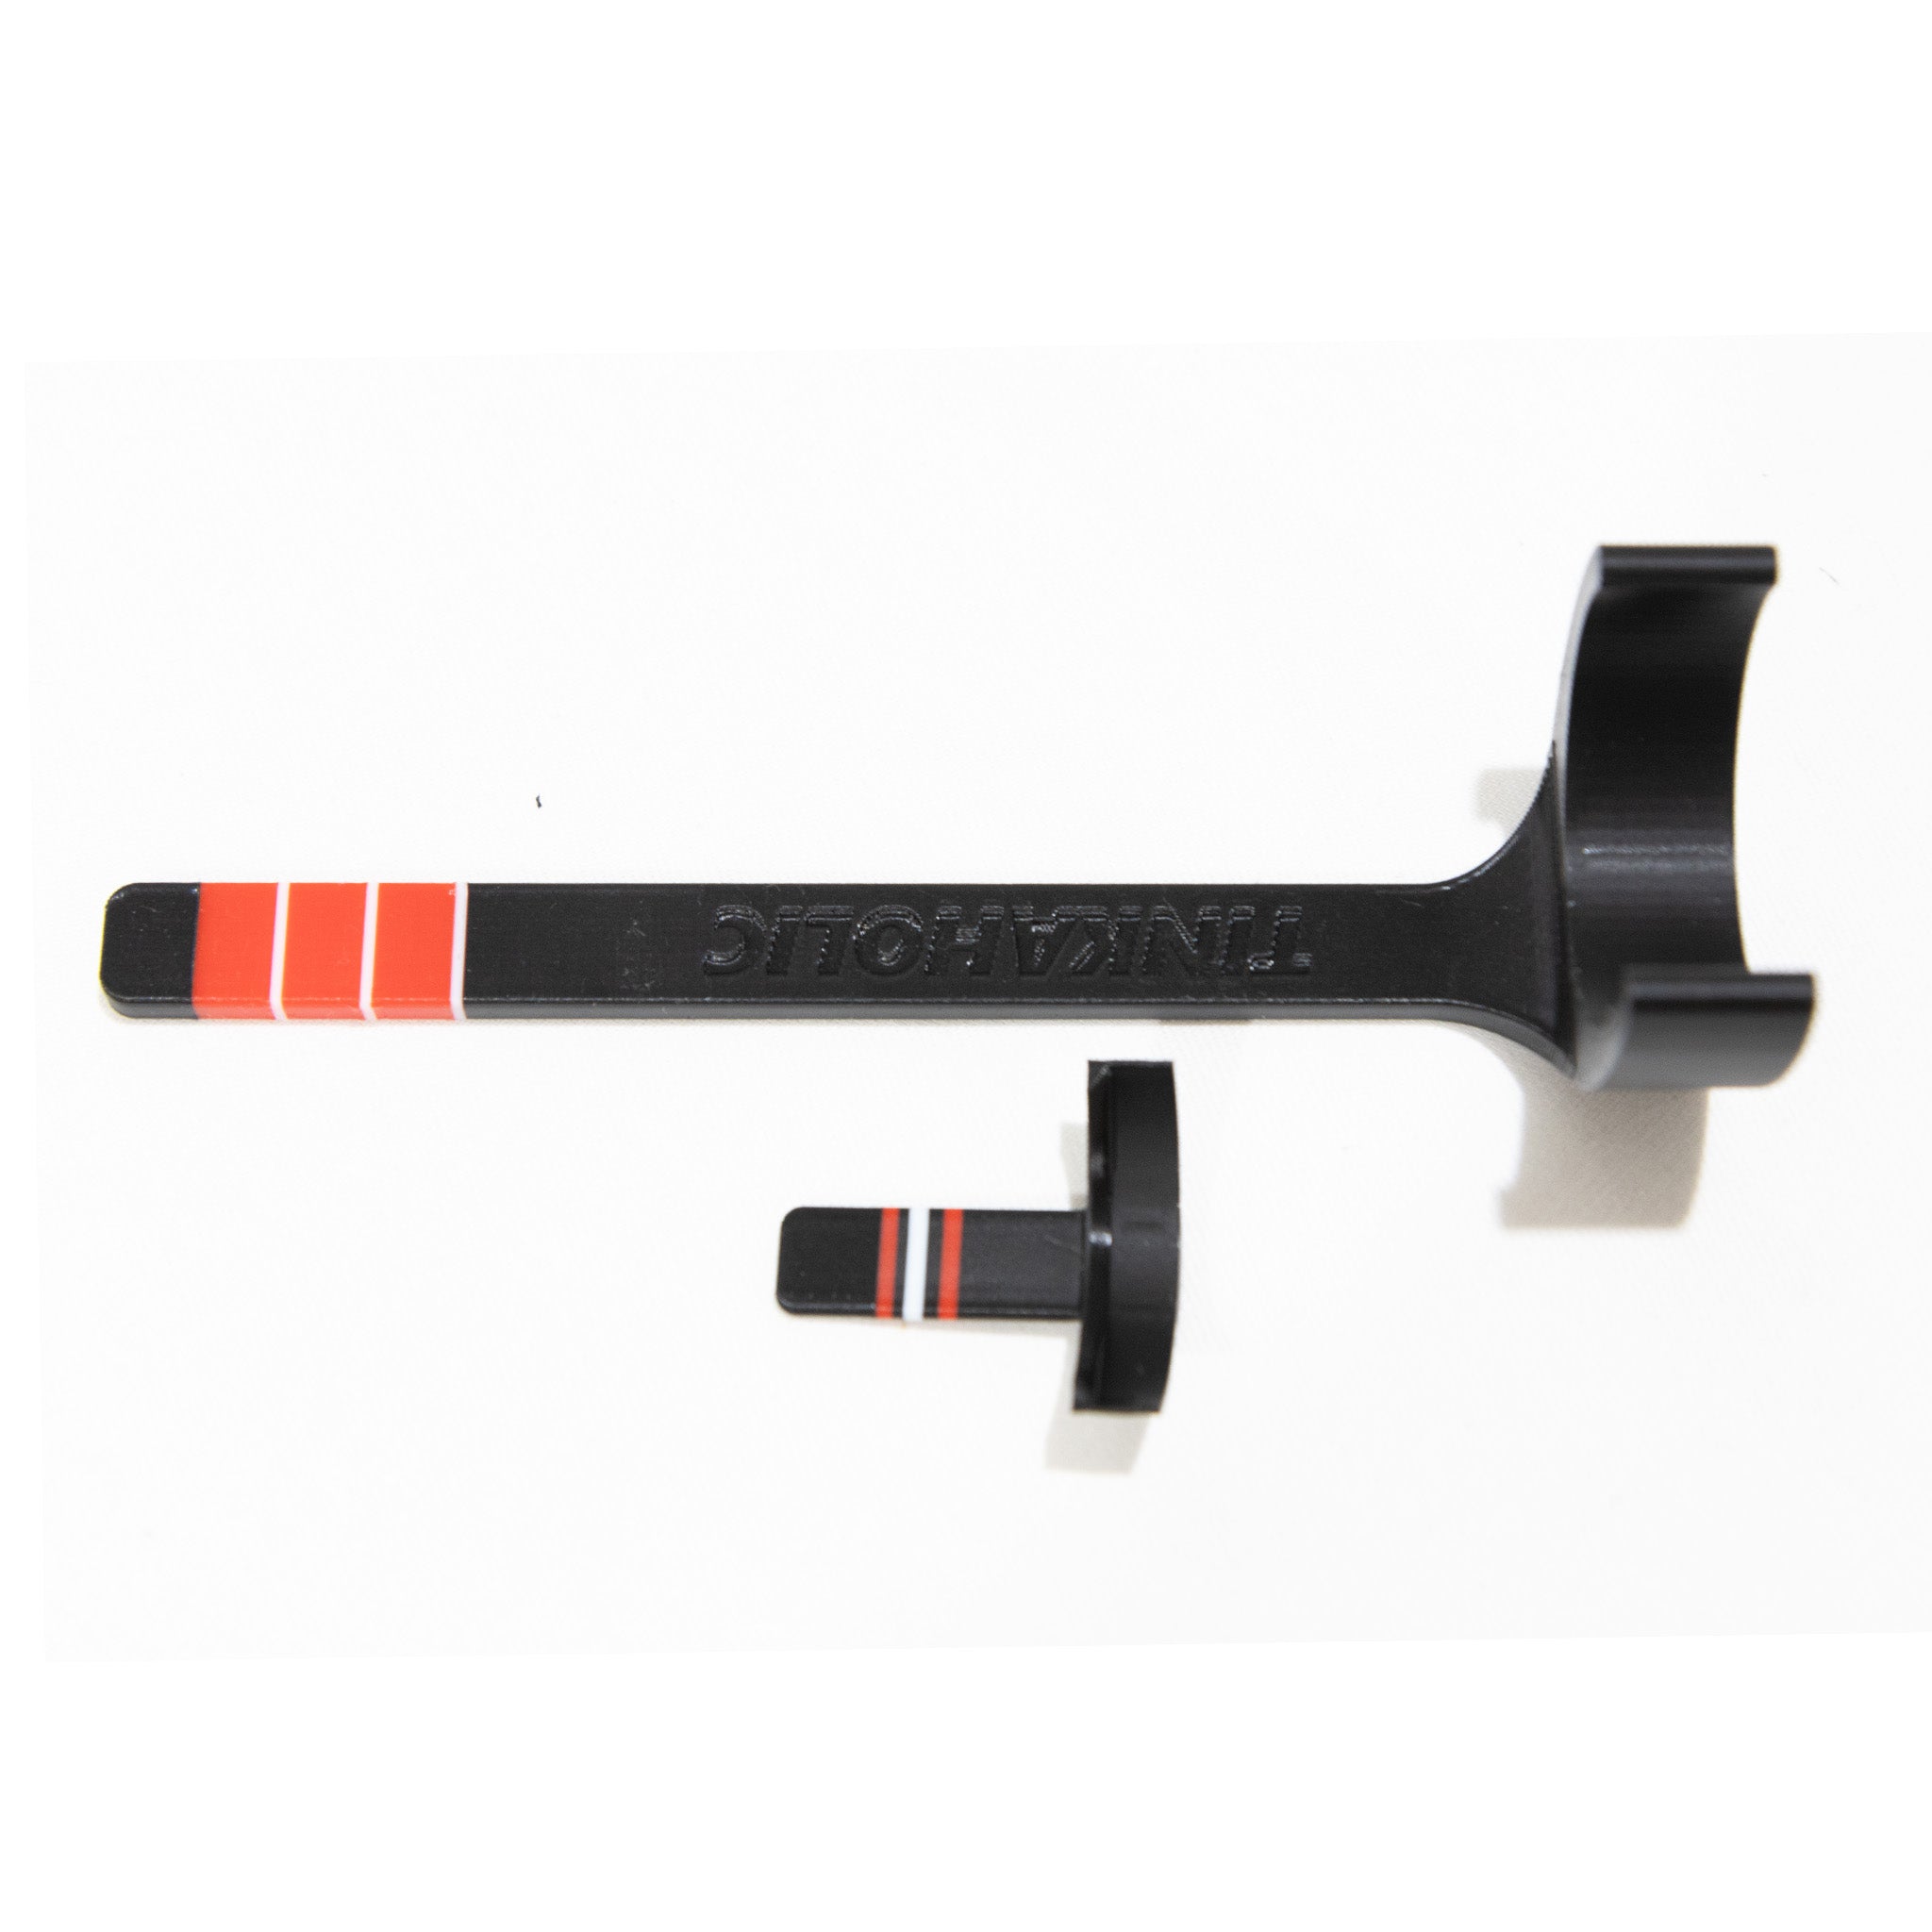
How to install and use the Saggie suspension products
- Cycle your suspension
- Push the Fork Sag Indicator down
- Clip on the Saggie Bit flush against the crown
- Carefully mount your bike in attack position, then carefully dismount
- Read the Sag setting, the % is written above the white line
- Adjust fork air pressure until desired sag amount is reached
- Attach shock saggie bit with cable tie. Makes sure it's flush to shock body
- Cycle rear shock
- Carefully mount your bike in seated position, then carefully dismount
- Read the Sag setting, the white line is 15%, the red lines are 10% and 20%
- Adjust air pressure until desired sag is achieved
ERGONOMICS INSTRUCTIONS
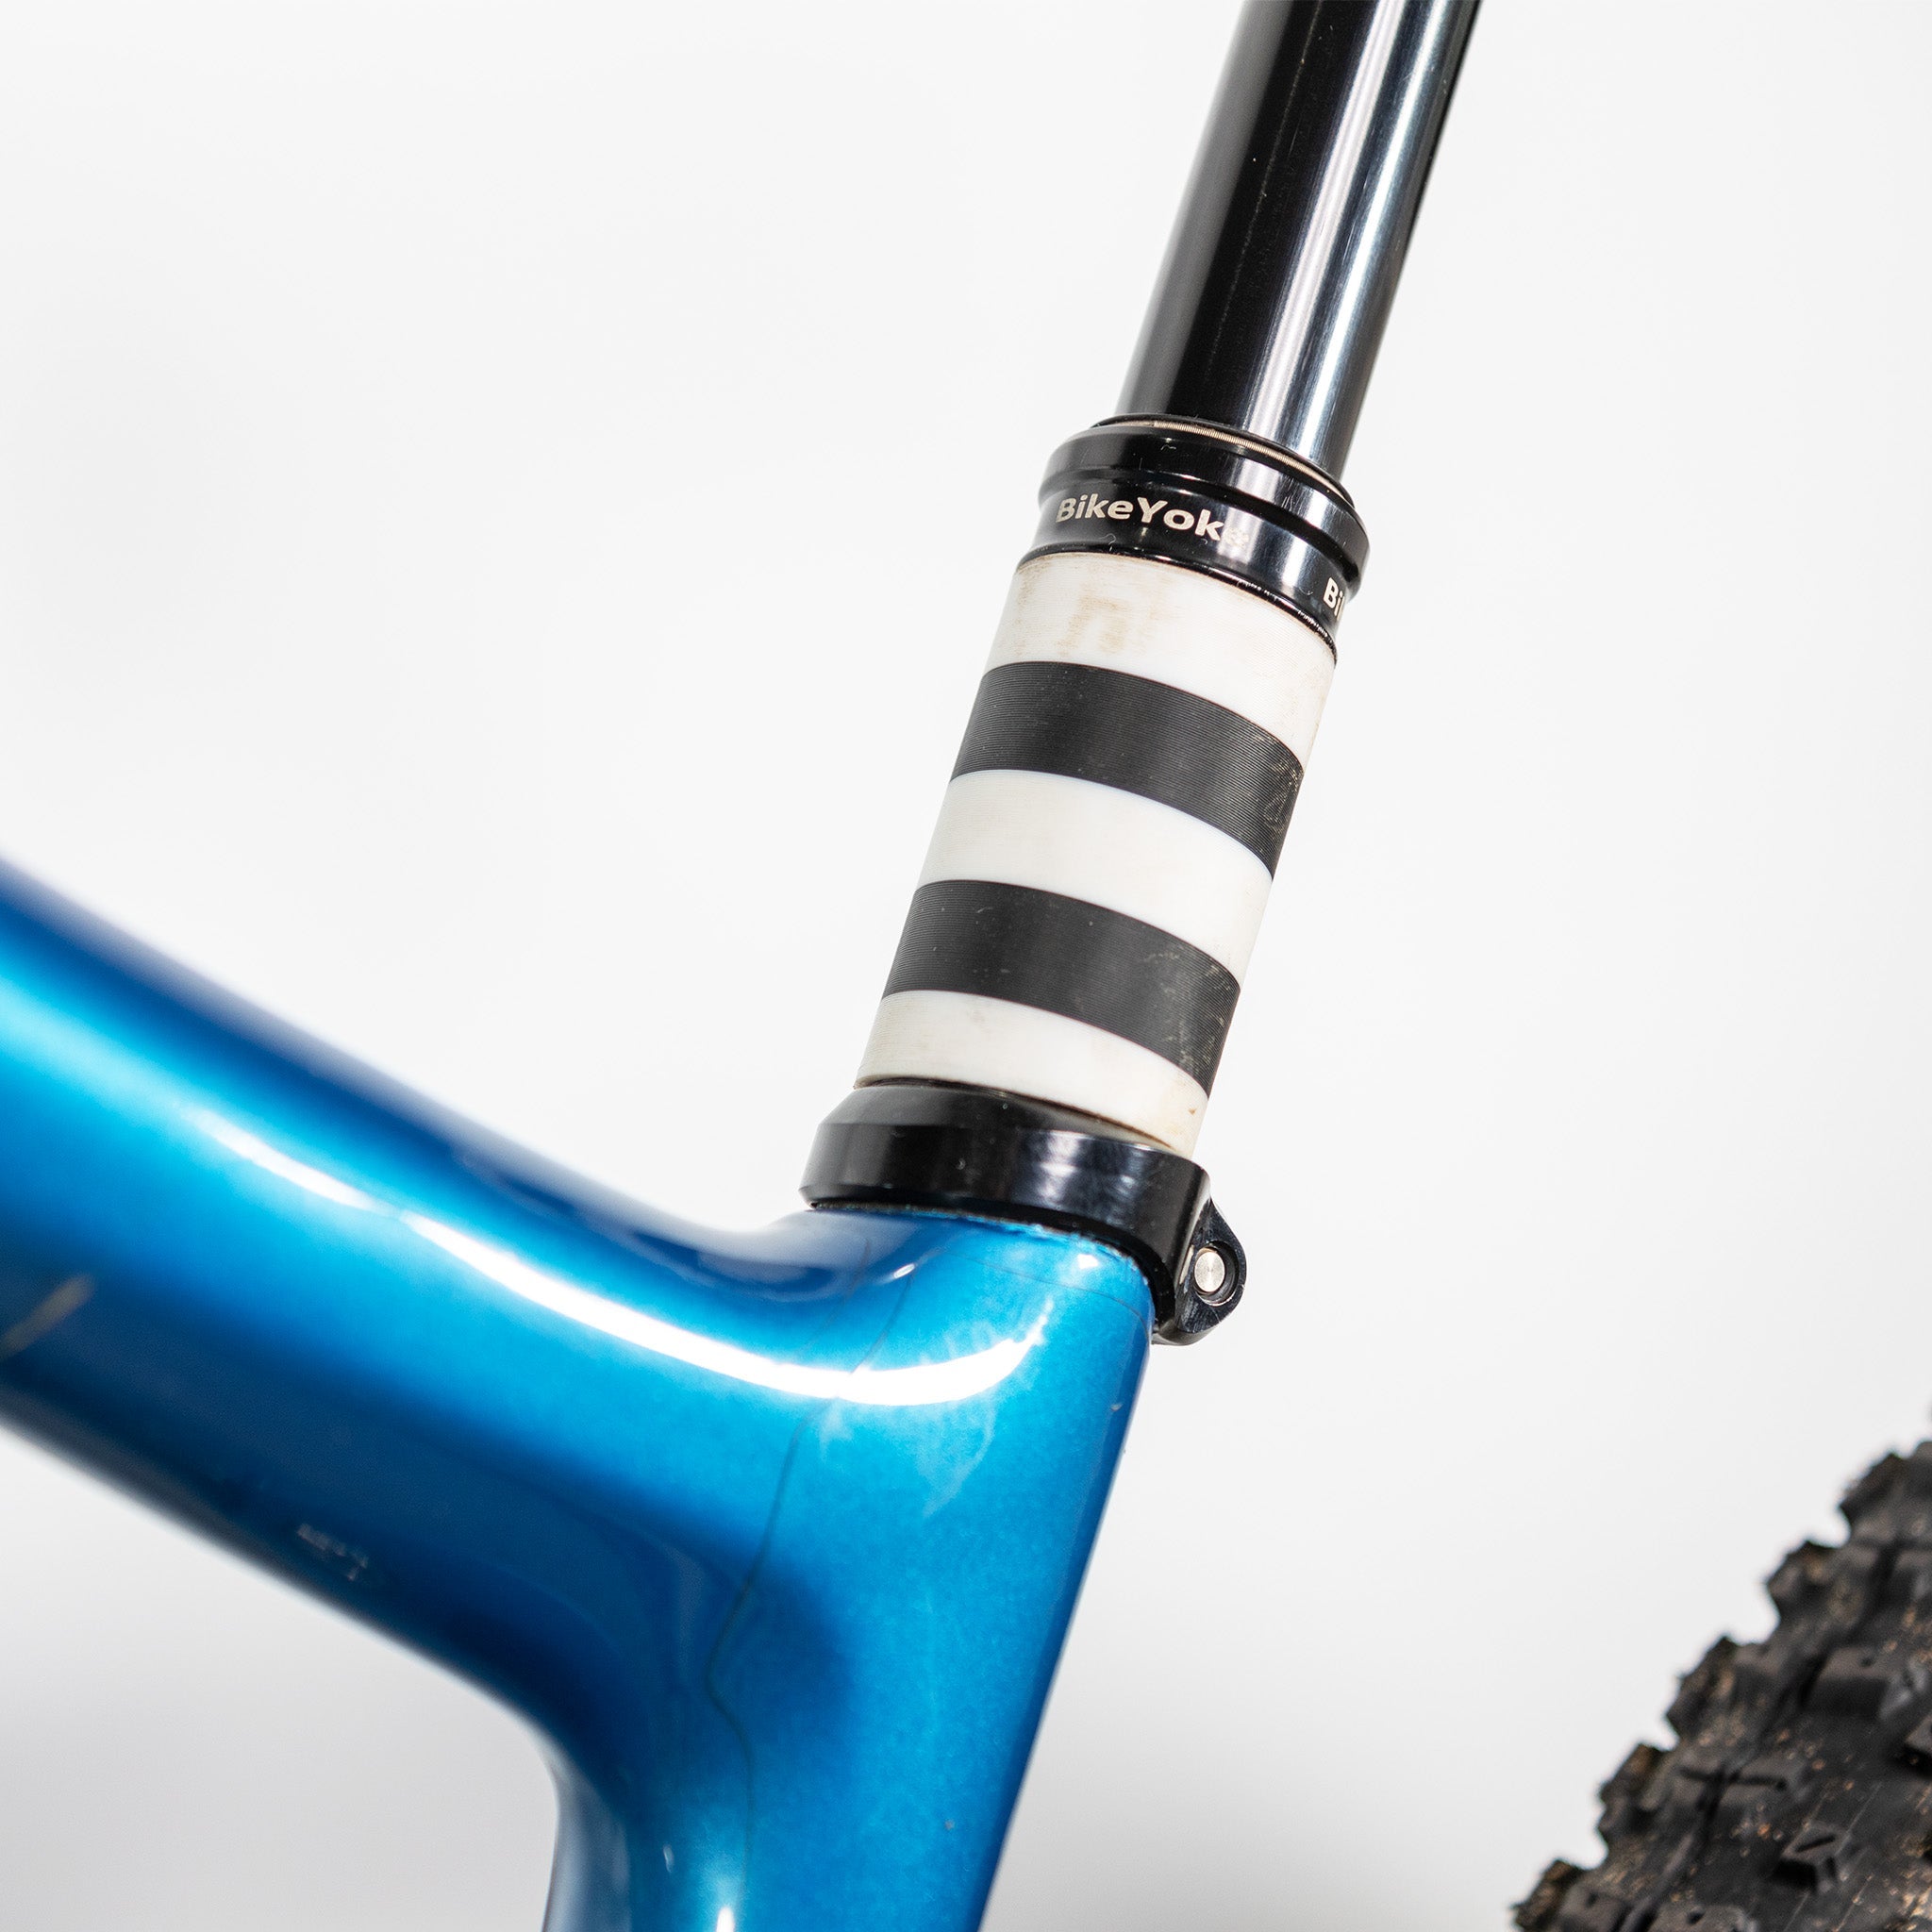
How to install and use the ergonomic bike setup products
- Measure the distance between your seat clamp collar and seat post flange.
- Send us the measurement when you place your order, once the Seat Spacer arrives install it by sliding it on to your seatpost before re-installing it in your frame. Your seat height is now locked in.
- Find your perfect seat position
- Tighten your seat
- Attach the Seat Stay flush against the seat clamp. You can now find your exact seat position when re-installing your seat.
- Attach the Bar Stay and rotate so the notch rests flush against your stem.
- Tighten the screw, your bar's rotational position is now homed.
RADGUARD
-

Step 1
The Radguard comes with 75cm of velcro. Cut strips to suit your forks (typically 20cm for the fork legs and 15cm for the crown. Thread the velcro through the Radguard as pictured.
-

Step 2
Bend and insert the Radguard between your fork legs. Loosely attach the fork leg velcro to hold it roughly in position.
-

Step 3
Tighten the crown velcro to pull the Radguard in to shape against the crown. Move the Radguard in to it's final position and tighten the fork leg velcro. Send It.
FORK OFF
-

Step 1
Remove your forks per manufacturer's instructions, as you slide the fork out of your frame follow it down through the stem with the Fork-Off.
-

Step 2
Put the lower bearing around the Fork-Off nut and screw it up the shaft of the Fork-Off. Do not over tighten.
-

Step 3
Insert a 5mm allen key (recommended) or the included plastic one in to the top of the Fork-Off, this provides a hook for your front brake calliper.
CODE RSC ANTI-SLACK
-

Step 1
Remove your grips and slide the Anti-Slack on to your bars with the conical buldge facing inwards. Wind your bite point and reach adjuster all the way out.
-

Step 2
Pull the brake lever in far enough to allow the conical buldge to enter the cavity behind the lever, this creates an artificial stop for the lever.
-

Step 3
Tighten the Anti-Slack screw to hold it in place. Adjust the bite point and lever reach to taste noting the bite point will be much closer to the start of the lever travel. Replace Grips. Ride.
MAZZER NOSE INSTRUCTIONS
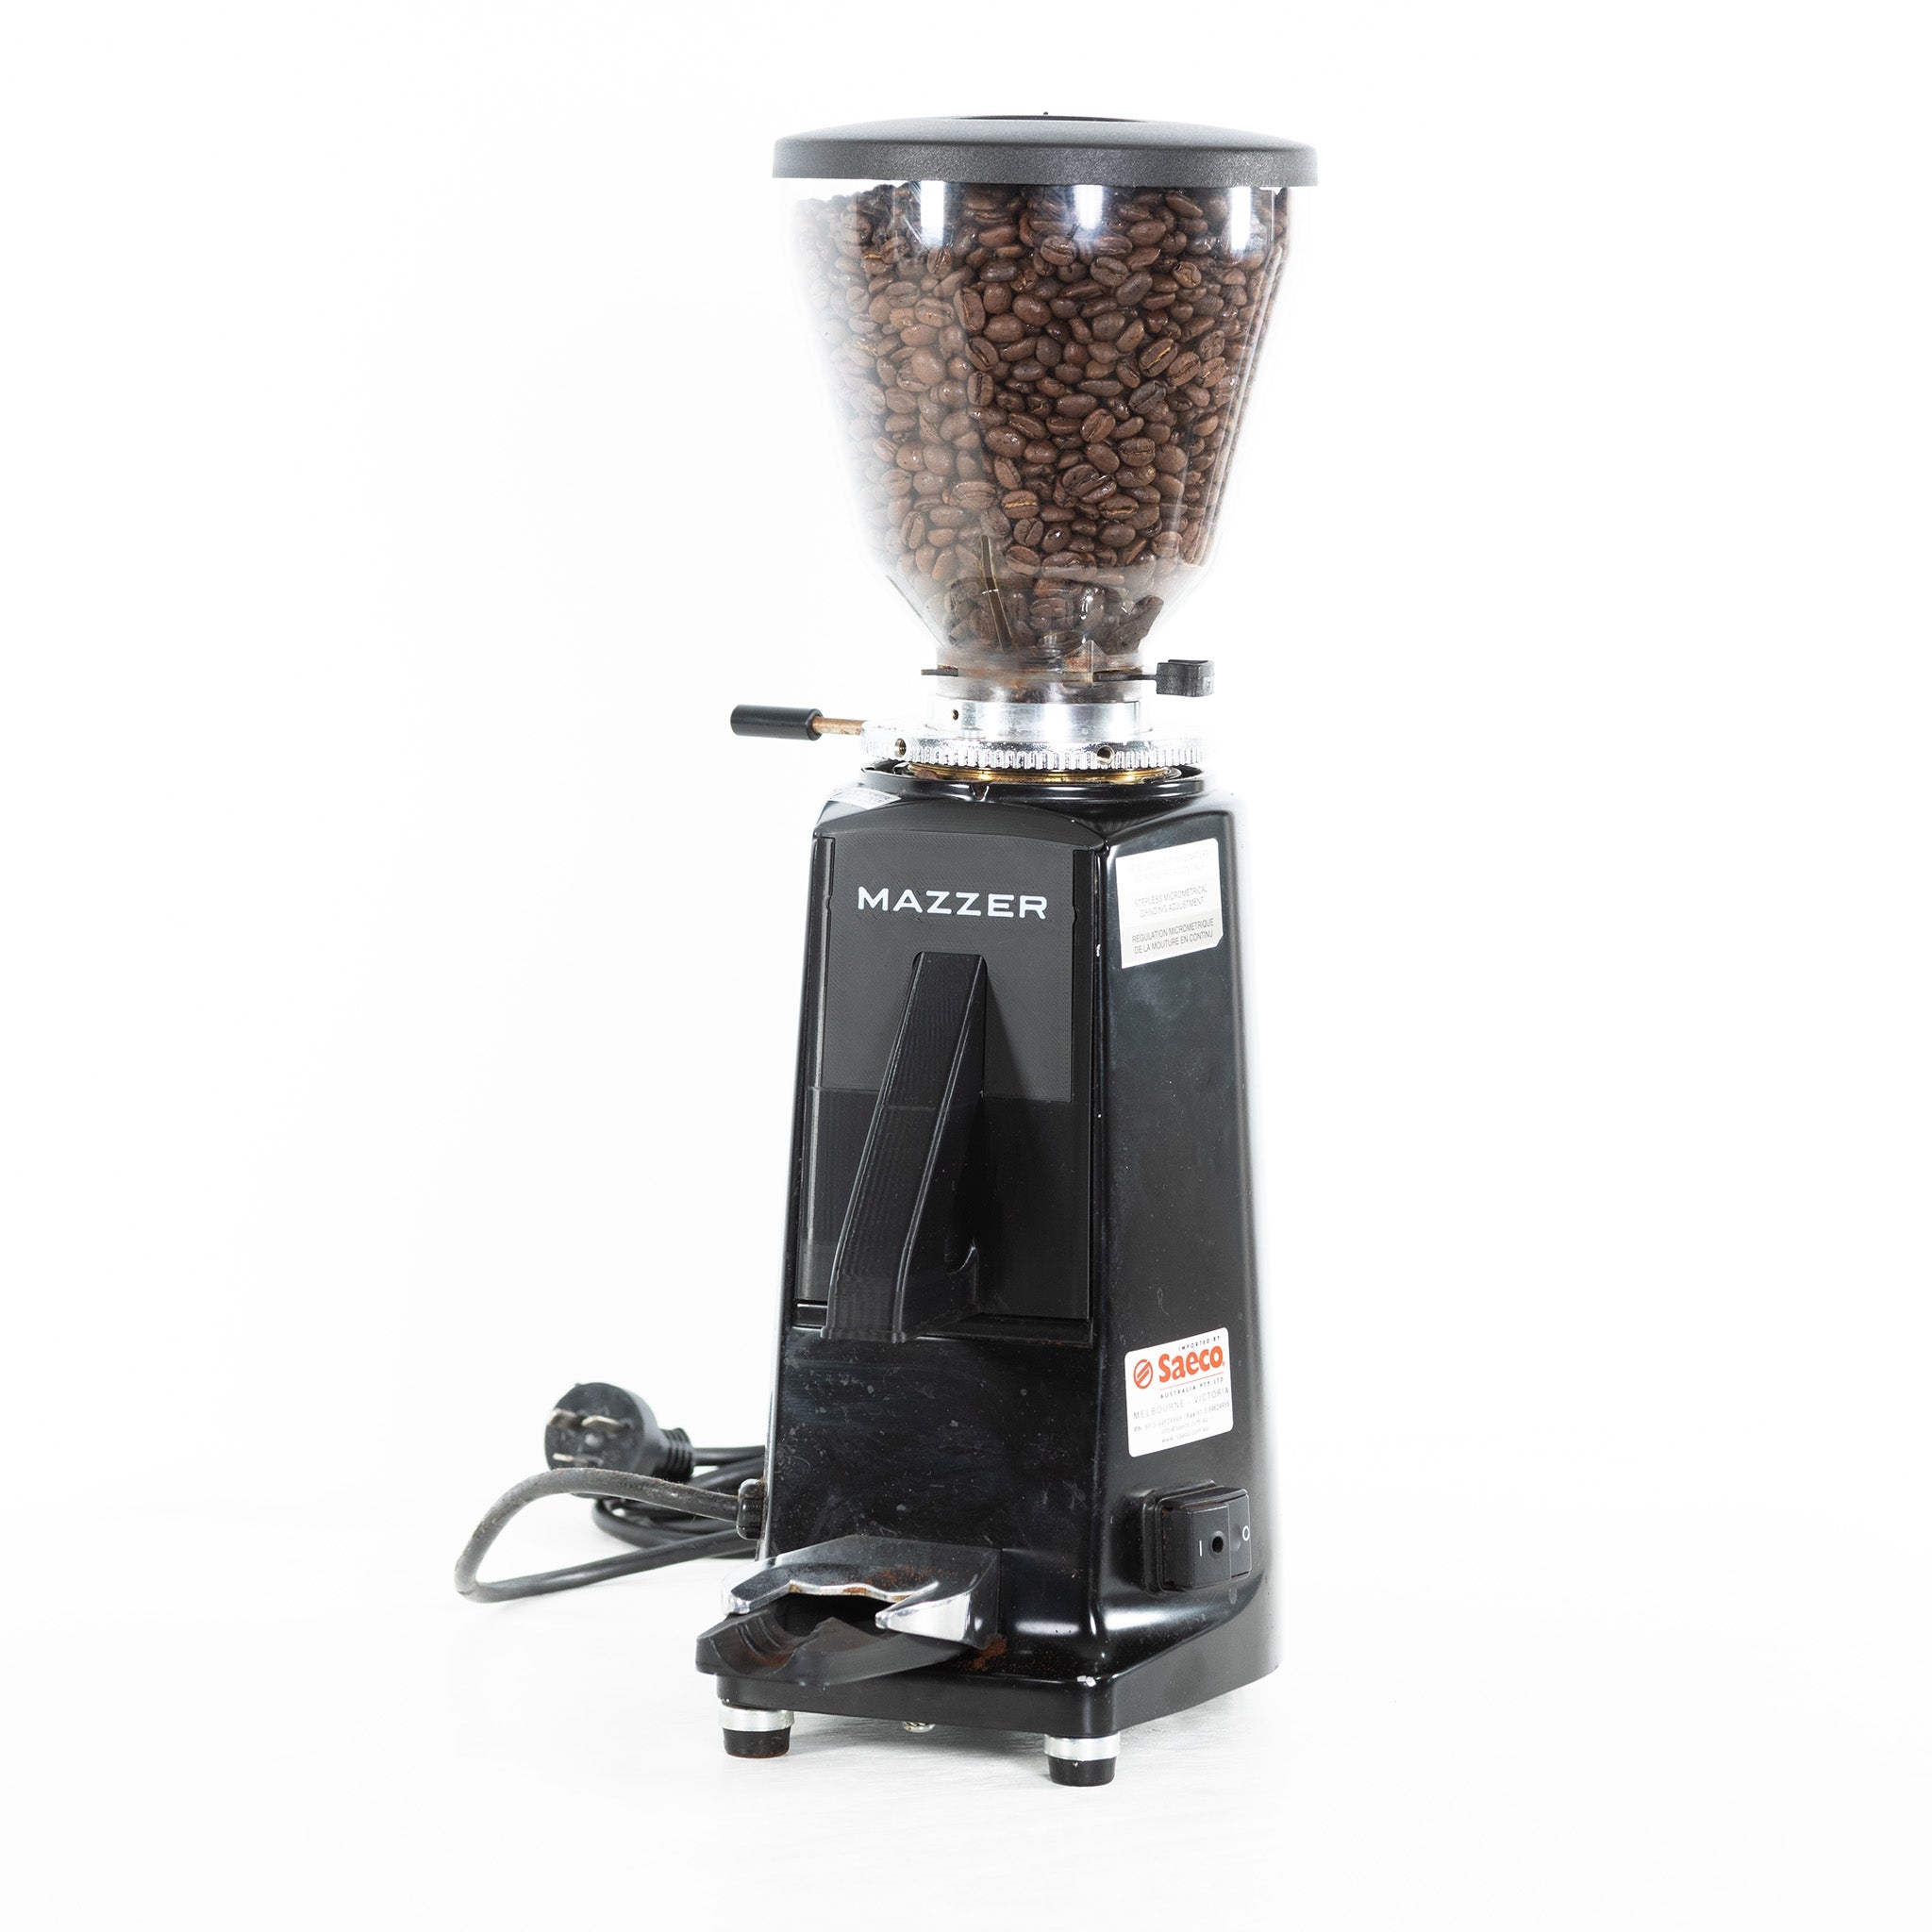
How to install the Mazzer nose on the Mazzer Mini
- WARNING ! Ensure the grinder is unplugged before starting
- Remove coffee bean hopper and doser lid
- Remove the two shield screws and metal shield from within the doser
- Remove the two black screws located underneath the shield inside the doser
- Remove the two large flat head screws at the bottom of the doser, the doser will then come out
- Insert the flathead screws in to the Mazzer Nose and install where the doser was, note the screws will take a while to screw in
- Screw in the two black screws at the top of the Mazzer nose, do no over tighten
- Snap the MAZZER screw cover in to place
- Reinstall the bean hopper
- Enjoy your coffee !
PORTAFITLER HOLDER INSTRUCTIONS

How to install the Portafilter Holder on the Mazzer Mini
- WARNING ! Ensure the grinder is unplugged before starting
- Remove coffee bean hopper
- Carefully lay the grinder on it's side
- Use a flathead screwdriver to remove the feet
- Use a torx screwdriver to remove the torx screw
- Carefully open the bottom of the grinder
- Undo the two nuts and bolts holding on the metal rest plate, remove the bolts
- Insert the bolts in to the Portafilter Holder, insert both the Holder and bolts back in to the metal rest plate
- Reinstall the Holder and metal rest plate in to the grinder
- Before tightening the bolts ensure the Holder is flush with the metal rest plate
- Put the bottom back on
- Reinstall the torx bolt
- Reinstall the feet
- Place the grinder upright and reinstall the bean hopper
- Enjoy hands free grinding !


